After the filling is chilled, it's time to make the dough and assemble the pierogis. I strongly advise recruiting as many people as possible to help with the process.... turn it into a family tradition, invite people over and call it a party.... whatever you decide to go with, just know that this is not a one person job.
I would like to thank the 9 other people who tramped over to my house to offer support (the men) and help me (the women)!! It was a day long process with pauses for a pizza lunch and a reward dinner of kielbasa and pierogis. Much beer and wine was consumed of course as you can't have a party in Australia without that! We all walked away from the day richer by several dozen pierogis each, deeper friendships with each other and lurking hangovers...
I'd also like to thank Cristin for coming over and being my own personal photog for the day so that you could all see the step by step process. Didn't she do a lovely job? Also thanks to Ellen for a picture of hers that I used and to Jon for a few photos of his that I used here as well - one of which perfectly captures the joy you should have while making these little beauties... Enjoy!
Mimi's Pierogi Dough
-Adapted from pretty much every pasta dough recipe out there
1 cup flour
1 egg
1 T canola oil
1 T cold water
Pinch salt


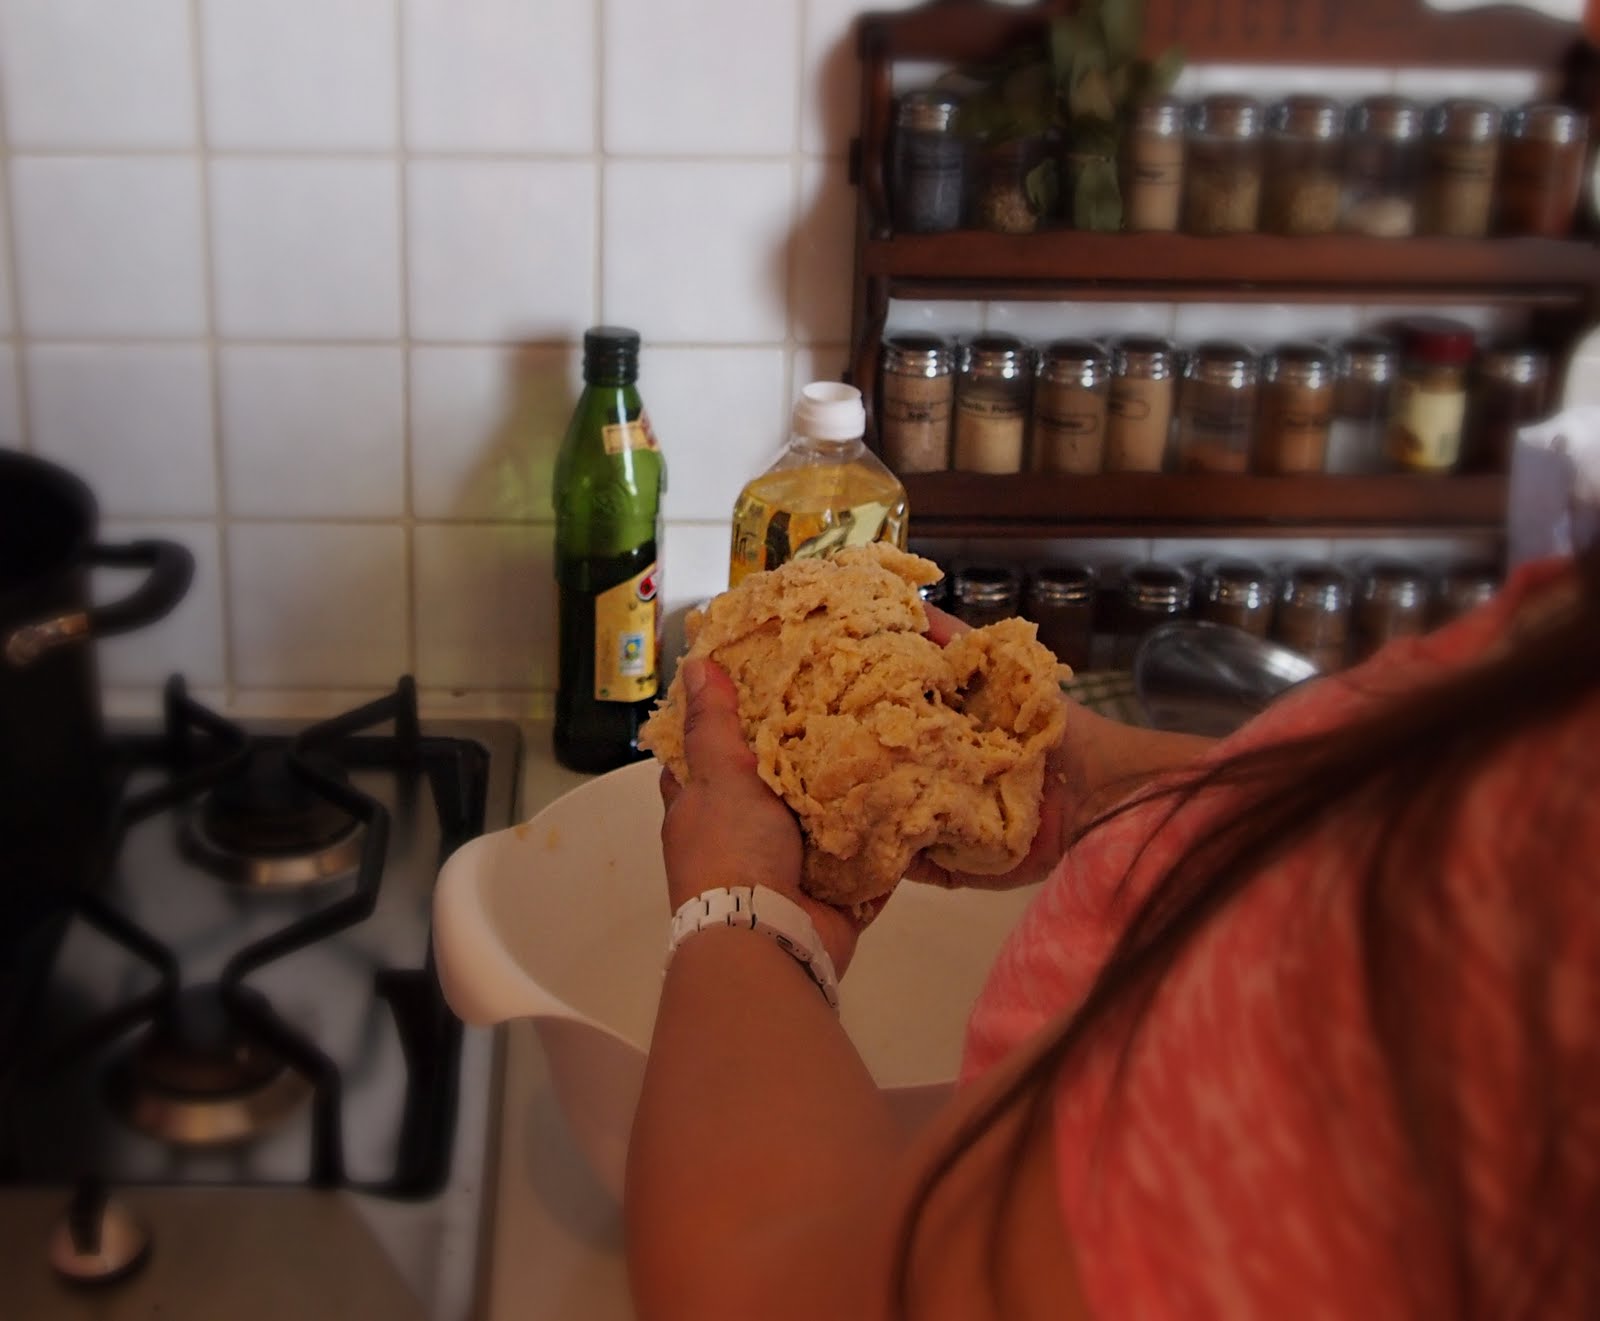
Combine all ingredients in a bowl until a flaky ball of dough forms - I use my hands because I'm not fancy it's easier to help the ingredients come together. It doesn't matter if the dough seems quite messy and uncombined. It will come together while it is resting. If the dough is very very dry and you cannot get all the little floury bits to come together than you can add a 2nd tablespoon of cold water.
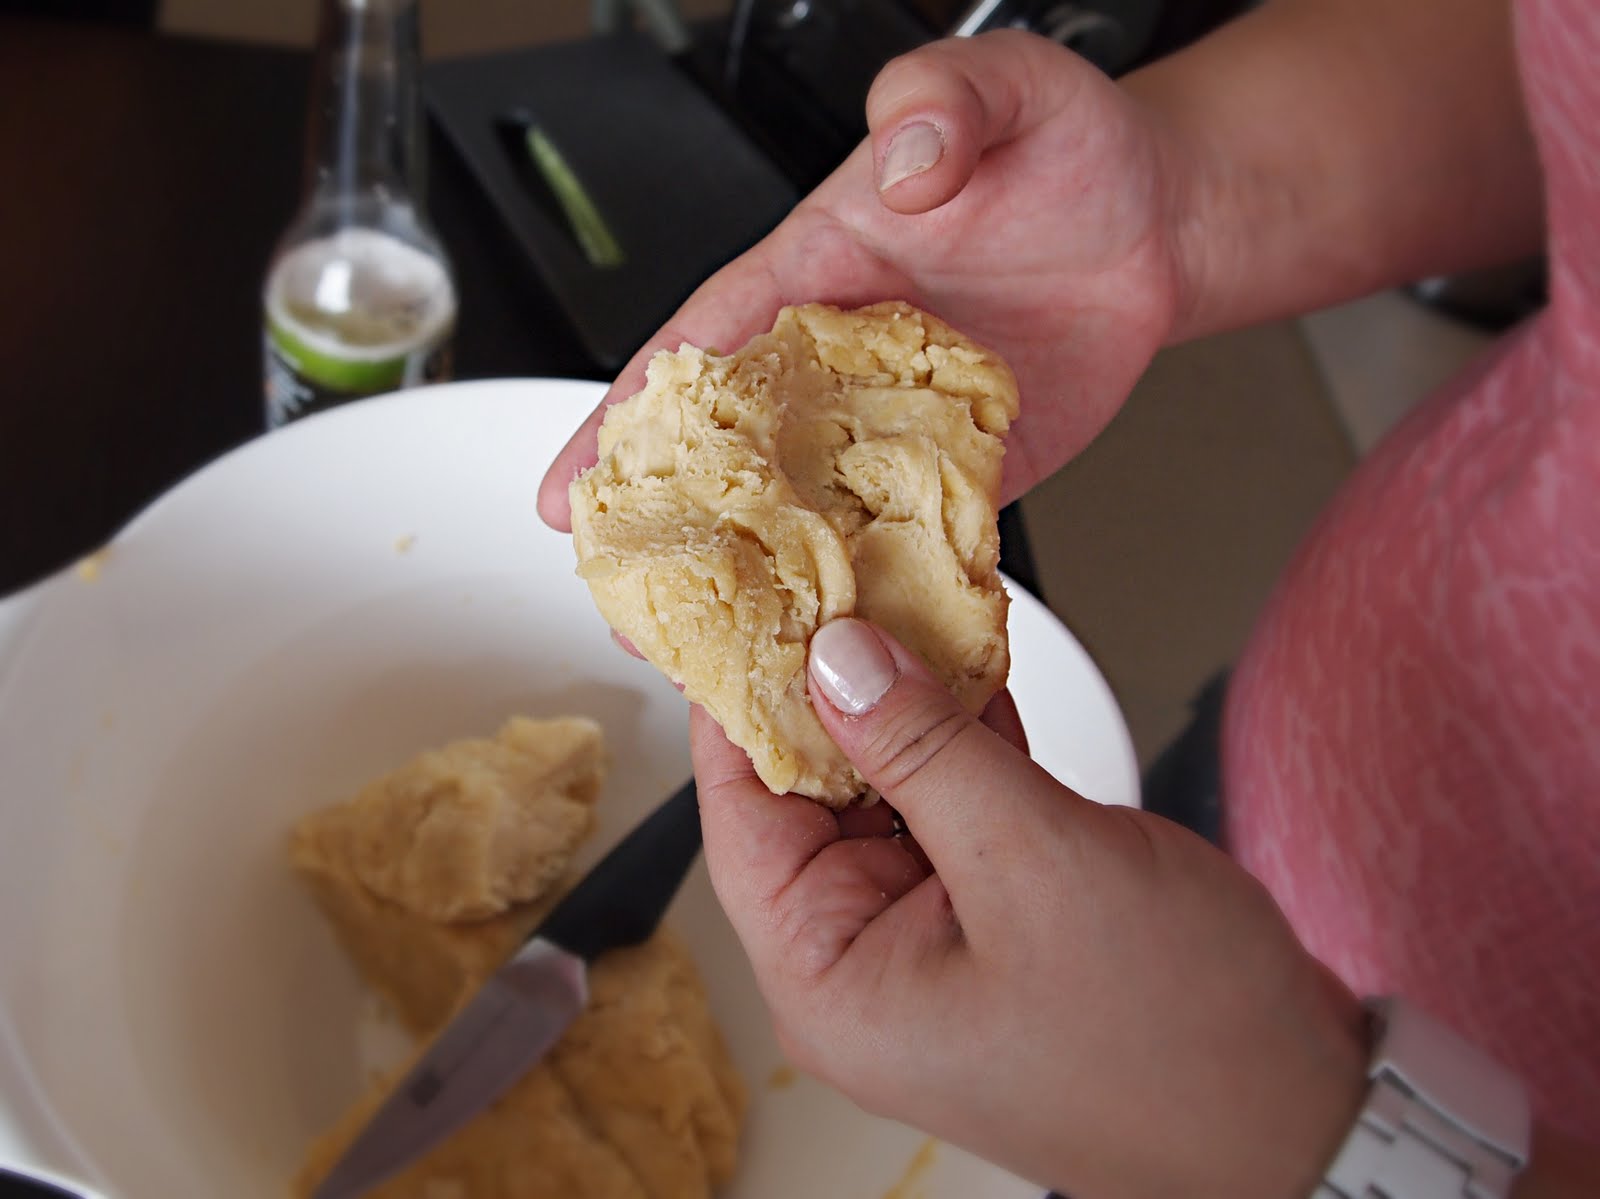
Cover the dough and let it rest for at least a half hour so the gluten can relax. Cut the dough ball into 4 pieces.
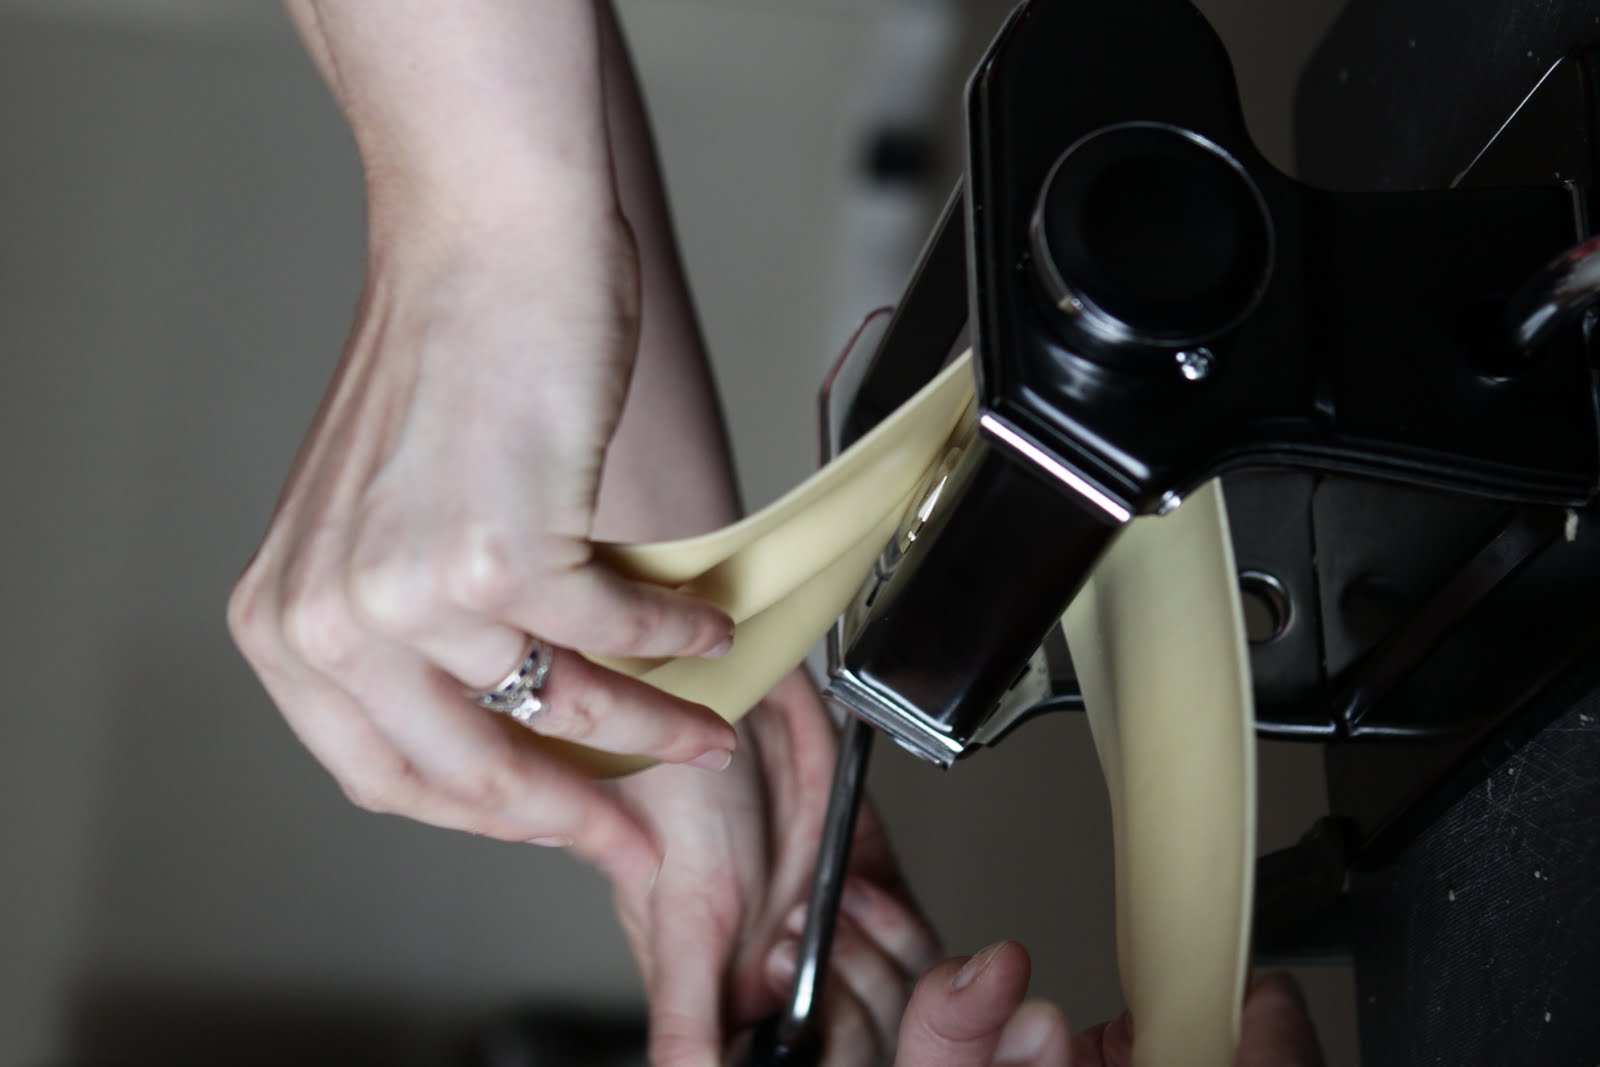
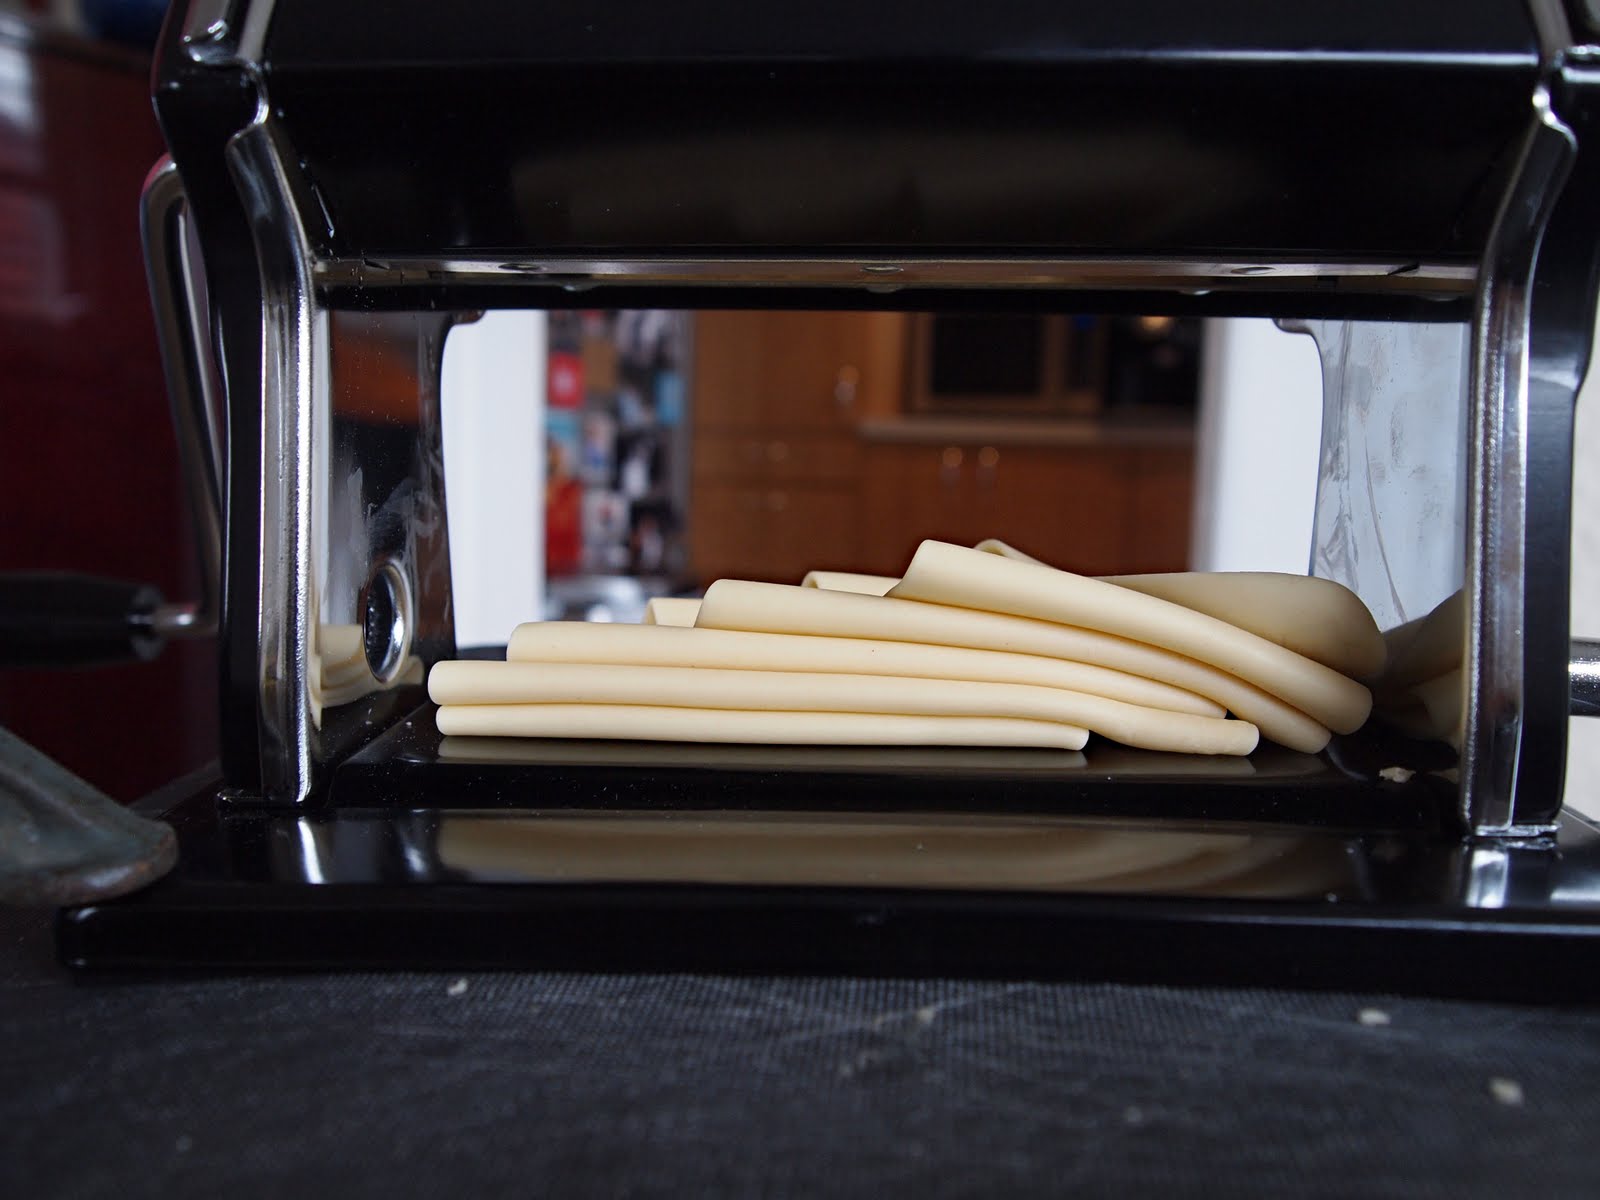
Roll out each piece by pushing it through a pasta machine on the highest (thickest) setting. Fold it in half and run through the machine again several times, folding each time. This is called "laminating" the dough. As you proceed though this process you will notice the dough goes from feeling sticky to feeling very smooth and glossy. Once the dough has become smooth and glossy and you have it in a nice square shape than you can begin running it through progressively smaller settings on your pasta machine. Do not fold the dough once you start this process. I use an Atlas pata maker, I laminate on setting 1 and then run the dough through to setting 5.


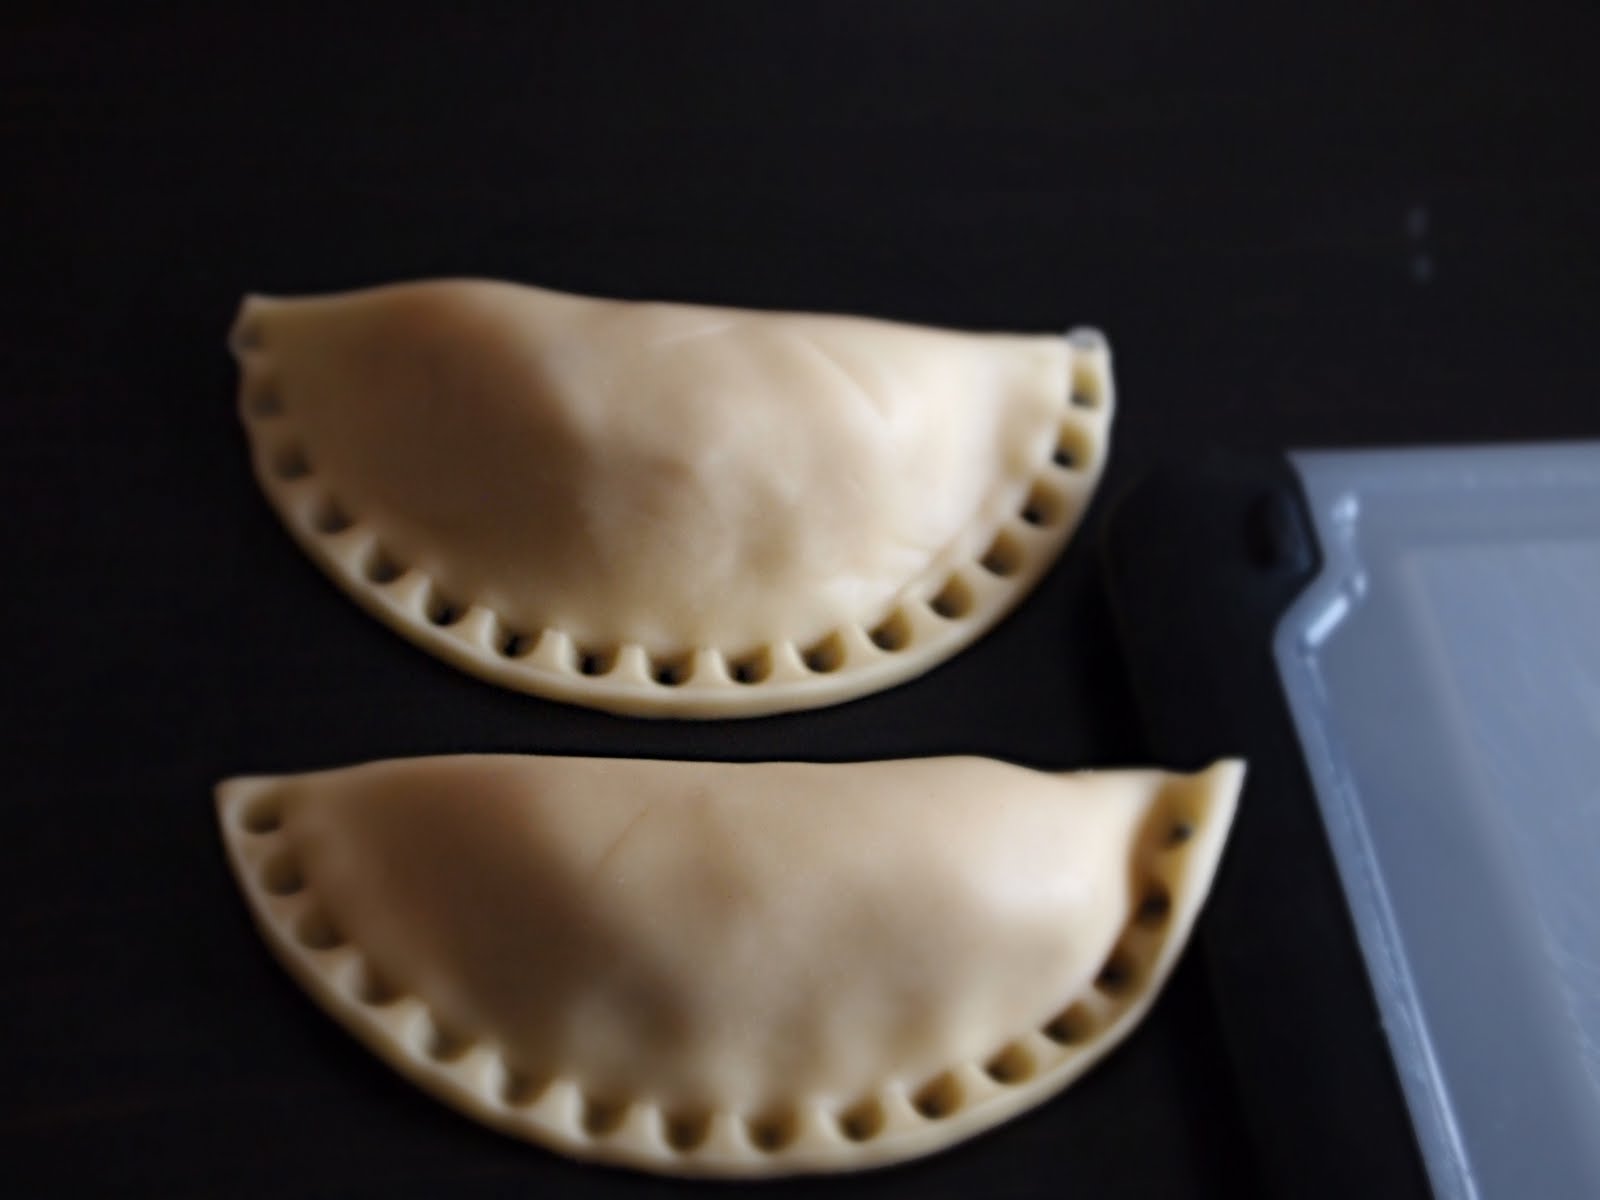
Cut circles out of the dough. Now, you can do this with whatever utensil you would like; but here is my 2 cents. I have made hundreds and hundreds of pierogis throughout my life and I can't recommend this little silver tool that you see in the above photo highly enough... it's by Pampered Chef and it's called a Cut-N-Seal. If you follow this link than you will see that it's under $10.00 - totally worth it! If you don't have one than you can use a circular cookie cutter or something else like it.

Place a small spoonful of filling in the middle of each dough circle.

Hopefully, look this happy and excited about doing all this work cause you know it will be worth it at the end of the day!
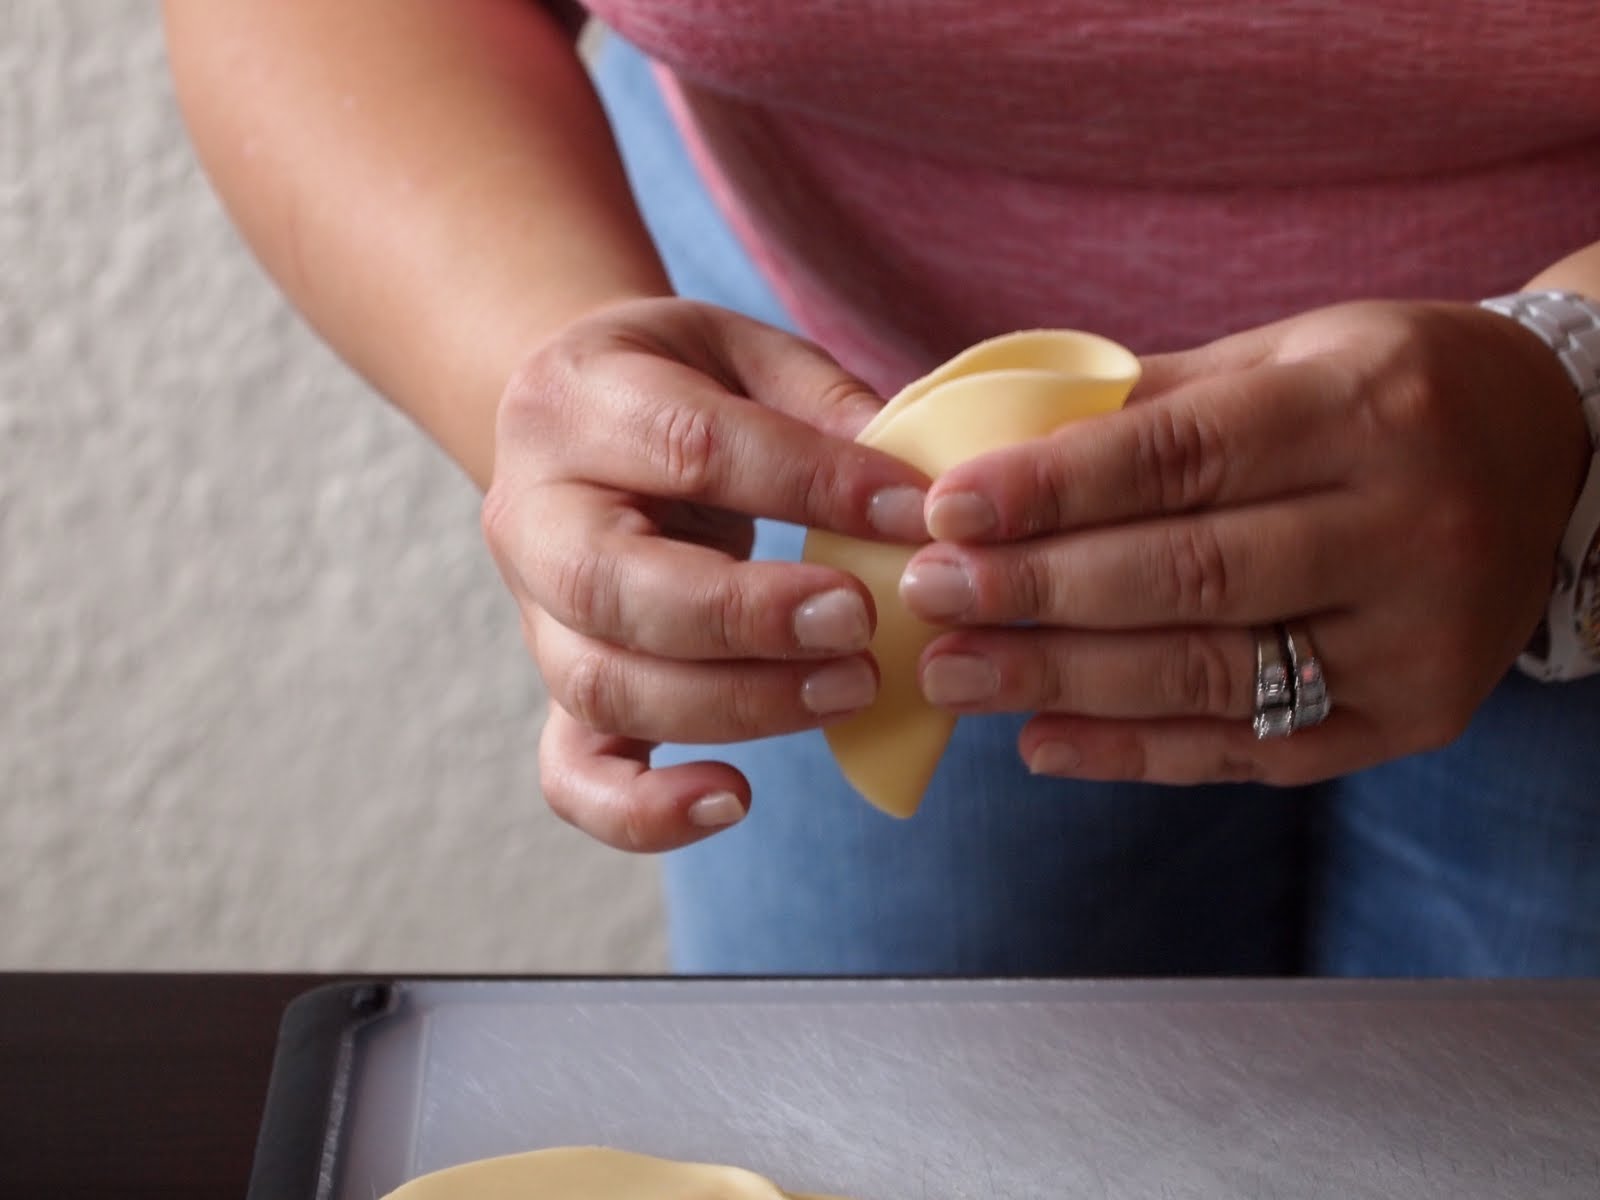


Fold the dough over the filling while pressing the edges lightly together. Place flat on cutting surface, ensure all air bubbles are pushed out and then press down in the centre of your Cut-N-Seal to trim the excess dough from the edges and achieve a uniformed seal. If you don't have this beautiful tool than you can seal your pierogis with a swipe of water, edge of a fork, and quite a bit of pressure. Again, I can't recommend this tool from Pampered Chef enough. In this batch of about 15 dozen, there were only about 3 pierogis that opened up while boiling - with more traditional methods of sealing, your rate of pierogi death will be significantly higher. Plus they just won't look as pretty!


Once the pierogis are sealed and ready to go, drop them in salted, lightly boiling water for about 3 minutes per batch. You don't want to crowd them in the pot so only do about 6-8 at once. Drain and cool the pierogis on a cooling rack placed over something to catch excess water. Be prepared to change your water at least once and possibly twice when you are doing a large amount. Once the water starts looking thick and cloudy it's time to start a clean pot to boil. After the pierogis have cooled, I pack them in Ziplock Quart Freezer bags by the half dozen. They freeze quite nicely and will keep for up to 3 months.
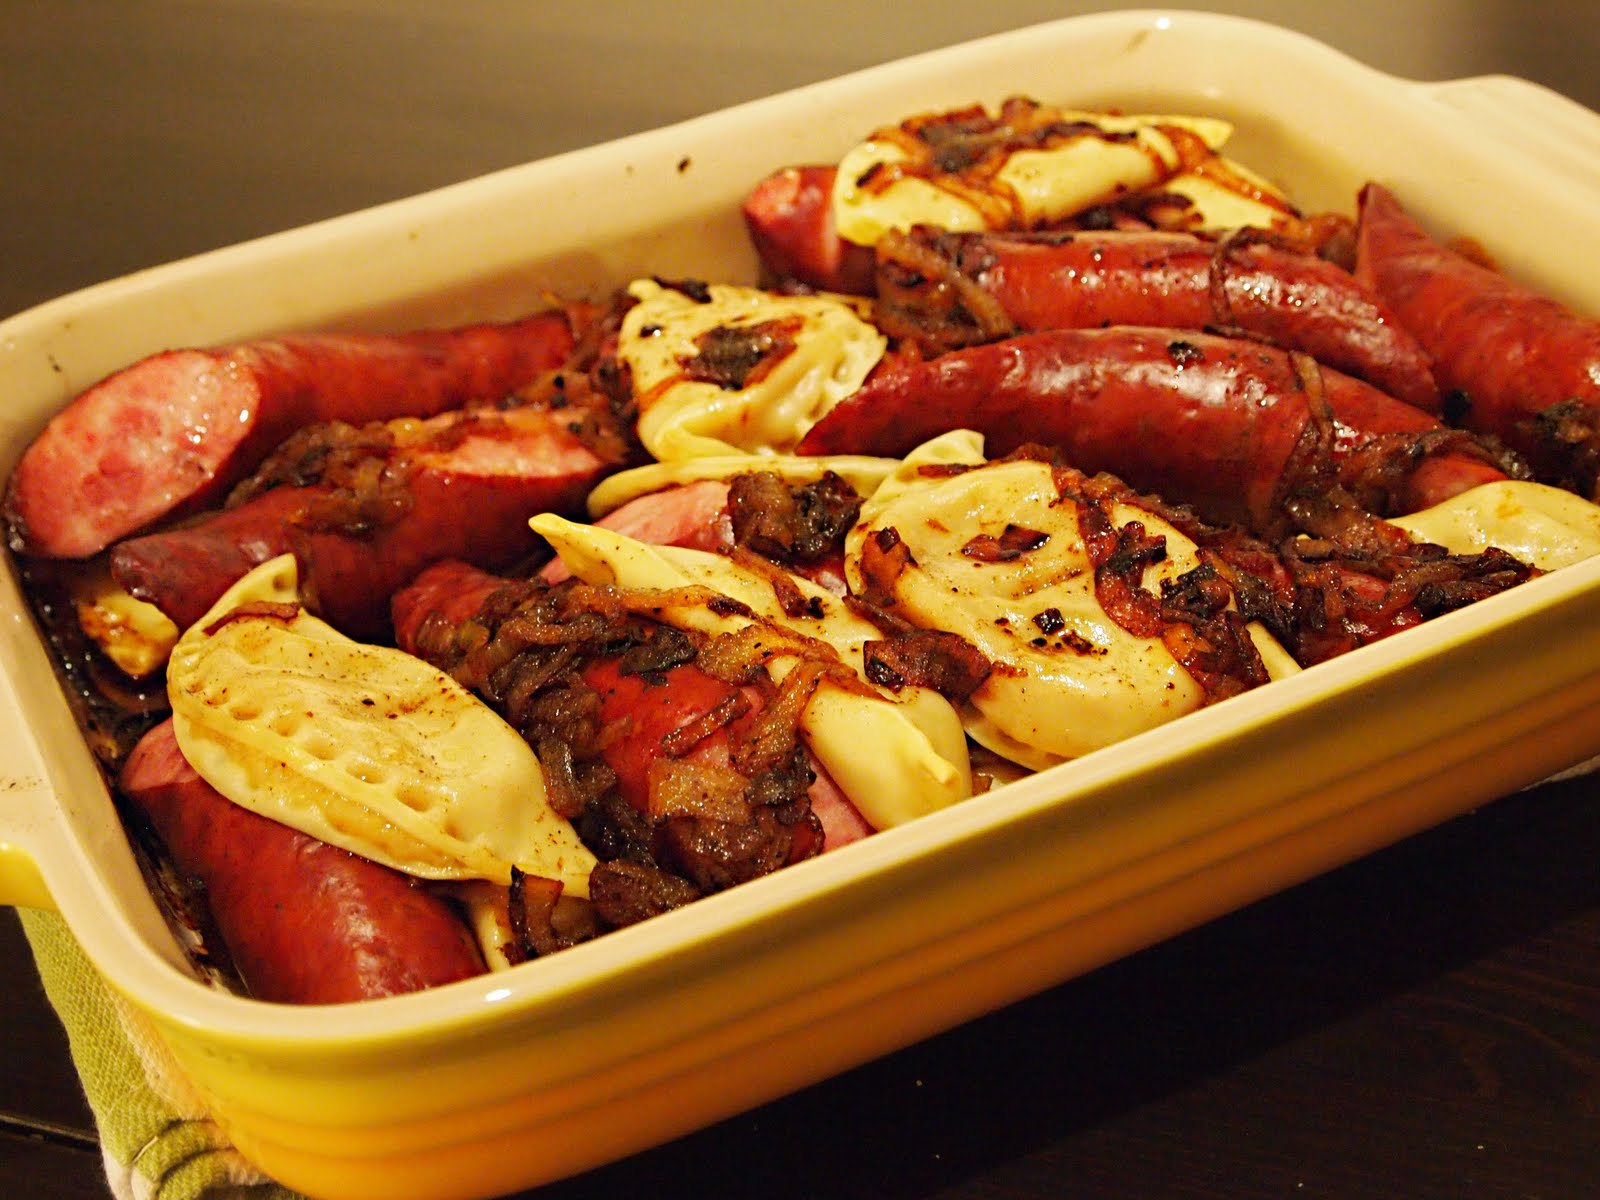

Pierogis are best served fried up in a pan with butter and onions; but the above method is nice with kielbasa and good for a crowd. Throw a bunch of the pierogis and kielbasa in a baking dish, top with melted butter and carmelised onions and then into a 350 degree oven until everything looks all toasty and delicious. When using fresh (uncooked) kielbasa (as in the bottom photo) just cut into one of the pieces so you can make sure not to serve your guests undercooked pork.
So, that's basically it. Lots of hard work; but, I promise, worth it in the end....


This post makes me sad. That is because it makes me want to eat some of those amazing pierogis. And, I cannot do that because someone who lives in my house ate all of them while I was away.
"Pierogi Monster," he told me.
And then he told me, "we can make more."
HAHAHAHAHA! Spoken exactly like someone who sat on the sofa not making pierogis all afternoon.
@ Cristin - Oh No!! I felt so sorry for him the whole time you were gone - imagining him skulking around the house cold and hungry. All along he was gorging himself on pierogis!! Well, we will have to have a little mini party. We can whip out a few dozen in a couple hours easy... Let's plan it for when we are back from Margaret River.
Wow, that's ambitious. I made pasta with a pasta machine once.... it took forever and was kind of a disaster.
@ Rai - Pasta is actually pretty easy to make - it sounds like maybe you didn't have a good recipe? Maybe try again with this one and see if it is easier :)
Looks fun and delicious, Meems. I wish I could've been there. Sorry I missed this until now. My computer was in the shop for over a week. Love you so much!
You best sister whose name starts with J
Wow. You are a professional. Looks delish. I always thought I would try to make homemade pierogi for my Polish born husband but perhaps when the kids are older... then I have free labor!
Please may I come to the next Pierogi party? I'll bring a pretty baby... X J
@ Julie - Don't feel bad, I missed this comment and it's been a month. Clearly, I am the one that needs to up my game!
@ Megan - Free Labour is an absolute must! This is not a one-person job!
@ Gusto - Loving that we were each commenting on each other's blogs at pretty much exactly the same time. Just another sign that we should get to know each other better. Also, you can come over any time as long as you bring your baby. Actually, you can just drop the baby off. that would be fine too :)